I am planning on buying a metal work lathe that has space in it for work pieces about 550mm in length. 550mm between centers. Optimum do a nice one that seems to fit bigger work than its specification indicates and which I can get locally, the Sieg SC4, which I am yet to see, also looks good. These lathes are a full step up in size from a minilathe but not industrial in any sense. They weigh around 100kg or more which is around double the weight of the best minilathes.
There are a couple of things about a lathe stand that might not be immediately obvious. First, a lathe should be running fairly smoothly a lot of the time. Unlike, a milling machine where cutter flutes engage and disengage, the lathe’s single point cutter is pushed into the work and stays there causing (I hope at least) relatively less vibration. I would not put a milling machine on a mobile tool trolley (again). Second, a lathe, with its length, relies heavily on the strength of its benchtop to avoid twisting. In fact leveling a lathe involves taking the twist out of it along its length and is an essential part of setup.
Like many home machinists I have limited space available and have decided to put my lathe on a rolling tool trolley draw cabinet thingy. However, they are a bit noisy if vibrated and the tops lack any real strength despite these trollies as a whole sometimes being rated for considerable weight loads. Most people solve this with thick wood tops it seems. However, they lack inertia and rigidity (being wood).
I decided to go with concrete. Here is the setup.


Melamine is great for casting concrete. Water resistant, slippery and smooth. The pine blocks have a slight angle on them so they contact at the top of the form-work first. I used 60kg of high strength mix, 10kg of cement powder 750ml of PVA concrete plasticiser and around 5l of water. It made for a thick but properly wet mix. I have a cheap ebay concrete vibrator (less than 100AUD delivered) that I used for settling the concrete, it has been awesome. To stop leaks I put a very thin bead of PVA glue around all the joins to seal the mould and it didn’t leak at all.
The piece of heavy duty particle board under the weights was already on top of my tool trolley, it fits into a rim on its top. As you can see I have created a good interface between my tool trolley timber top and the concrete (the particle board has stuck itself on actually). The side of the particle board facing the concrete was the old bench top-side and is painted, this should hold back some of the damp from the concrete. Once the mould is removed the concrete facing the melamine mould will be the new bench top. Clear as mud?
The 12mm rebar was in two pieces and is welded together. Rebar is not normally meant to be welded (too much carbon in it) but a rub with a file indicated it did not get super hard at least. Also, I don’t think I need the rebar parts to have any movement relative to each other on a work of this scale. Rebar is normally wired together. The rebar is diagonal because I thought it would resist twisting best this way.
As you can also see I used stainless screws in the 12mm rebar as stand offs. With the slab only being 60mm thick, precision was required. The screws were superglued in and superglued to the mould to hold the rebar in place. When it is all done I may be able to take out the screws or drill them out and fill the void, paint them or ignore them.
Lucky last, I have built this up on my deck because I know it is within a few mm of being a single plane across its whole surface.
One thing that does concern me a little is that the concrete and lathe ends up too heavy or too top heavy despite a very smooth and level workshop floor. I have made the concrete only a very little bit wider than the trolley with this in mind but it might not be stable enough. If I didn’t think it would be OK I would not have done it though only time will tell.
As always not a ‘how to’ guide, the way to safely set up a lathe is to the manufacturer’s spec. This is not such a setup, this is a record of what I did. Hope it was entertaining and thought provoking.
EDIT: Here is the finished bench top.
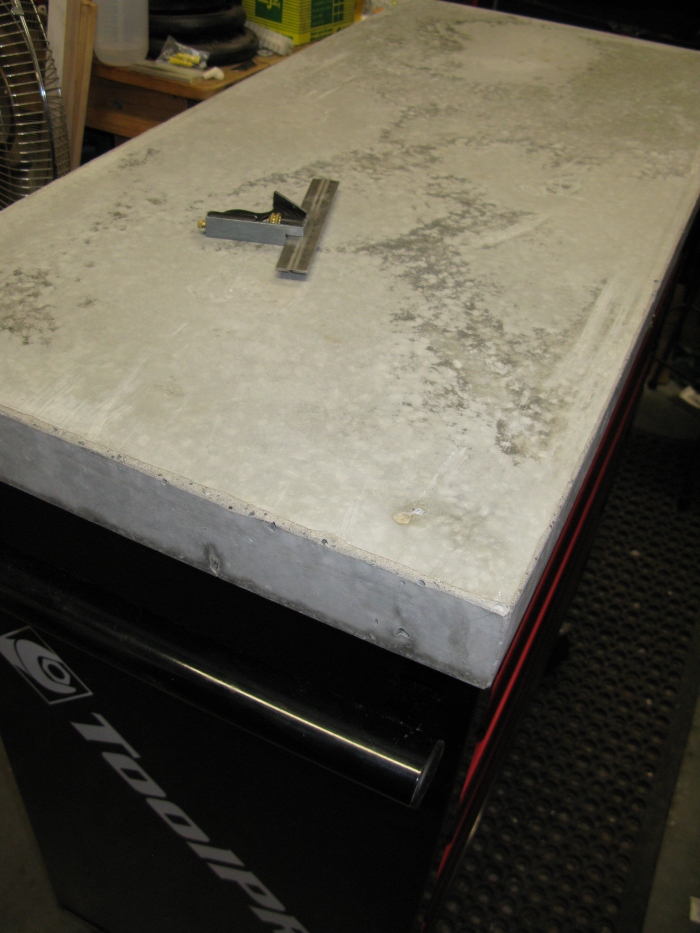
The rebar did move a little so that it is within 40mm of the edge of the slab at one point (instead of my target 50-55mm. The super glue to hold the standoffs to the formwork was not good enough. Top to bottom in the slab though remained spot on, the screw heads were at the surface. I actually unscrewed one of the screws! The other three broke off. I will fill the little craters with epoxy. For now I sealed them with super glue. I broke the edges with a flappy disc on an angle grinder. They work fine when the concrete is not completely hard (this was after five days).
